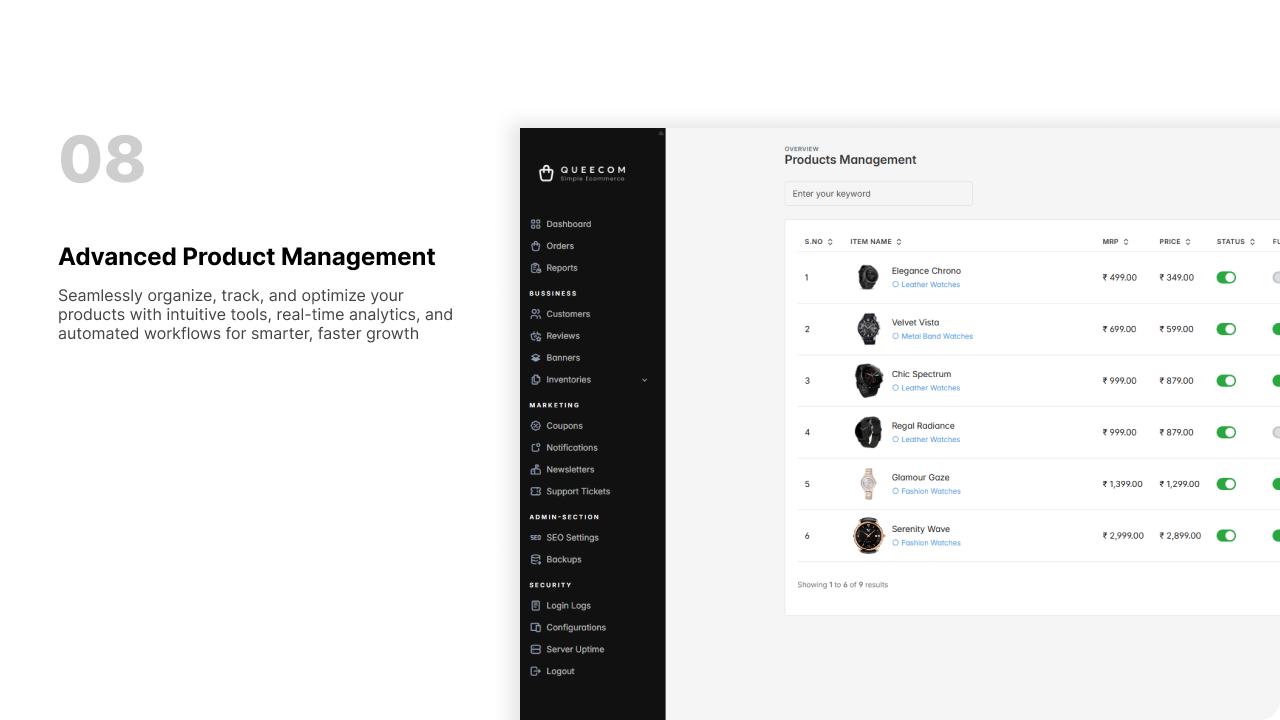
Product Management
Create and manage your products effortlessly, whether simple single items or variants with multiple options. Streamline your inventory with easy-to-use tools tailored for your business needs.
1. Product Create
Product Types
1. Single
- Description: A standalone product without variations
- Where it applies: Standard items sold individually
- Best for: Simple products with fixed attributes (e.g., books, gadgets, accessories)
2. Variation
- Description: A product with multiple variations/options
- Where it applies: Items available in different sizes, colors, or configurations
- Best for: Products requiring choices (e.g., clothing, shoes, customizable goods)
Quick Summary
| Type | Description | Best Use Case |
|---|---|---|
| Single | Standard standalone product | Simple products with fixed attributes |
| Variation | Product with multiple options | Items needing size, color, or style |
Step 1: Select Product Type
- QueeCom allows you to create products as either Single (standalone) or Variation (multiple options like size or color) types depending on your needs.
Step 2: Enter Basic Product Details
- Product Name: Enter the name of your product.
- Tax Category (Optional): Select applicable tax group.
- HSN Code (Optional): Enter the product HSN code for GST or tax purposes.
- Parent Category: Select the main category of the product.
- Subcategory: Select the relevant subcategory.
- Short Description: Enter a brief description.
- Full Description: Use the rich text editor for detailed information.
Step 3: Upload Product Images & Media
- Add product images in the Product Images section. You can assign images as:
- Default
- Top
- Left
- Right
- Bottom
- Front
- Back
- Upload a simple video file (up to 3MB) to showcase the product if desired.
Step 4: SEO Configuration
- Enter Meta Title, Meta Description, and Meta Keywords to optimize your product for search engines.
Step 5: Price Section (Single Product Only)
- For Single products, enter:
- Price
- MRP (Maximum Retail Price)
- Note: This section is hidden for Variation products.
Step 6: Store Assignment
- Select one or multiple stores where the product will be available.
Step 7: Product Settings
- New Label: Enable to show a "New" badge on the customer page.
- Featured Product: Enable to display this product in featured product sections.
- Manage Stock: Enable to manually enter the available stock quantity. If disabled, the stock is unlimited.
Step 8: Create Product
- Click the Next button to create the product.
Variation Product Additional Steps
If you selected Variation type:
- After basic info, go to the Variation Create Page.
- Select multiple attributes (e.g., size, color) from the available list.
- For each selected attribute, choose the applicable values (e.g., size: S, M, L).
- Click the Add Variant button.
- On the right sidebar, for each variant:
- Upload variant images.
- Enter variant name, match attributes accordingly.
- Enter Price, MRP, and Available Stock or keep stock unlimited.
- You can create multiple variants and edit or remove them as needed.
- When all variants are complete, click the Next button to finish product creation.
2. Products Bulk Import
Clicking the Bulk Import button opens a 3-step multi-page process for importing products.
Step 1: Upload Product File
- Download the product example file to use as a template and edit your product data accordingly.
- Upload your updated file using the file input field.
- Click Next to proceed.
Product Sample File Instructions:
- Accepted File Type: CSV (Comma Separated Values)
- Maximum File Size: 5 MB
- First Row Headers:
code, image, name, hsn_code, description, mrp, price, status, is_new, is_feature, stocks, attributes, category - Each row must contain valid data for all required columns.
- For Boolean fields (
status,is_new,is_feature), usetrueorfalse(case-insensitive). - For Numeric fields (
mrp,price,stocks), use numbers only (e.g., 100 or 49.99). - Do not leave required fields blank.
- Check your file for duplicate product names before uploading.
Step 2: Upload Product Images
- Upload product images in PNG, JPG, or ZIP file formats.
- Click Next to proceed.
Step 3: Verify and Finish
- Review all uploaded product data to ensure correctness.
- Click Finish to complete the bulk import process.
- Successful message will confirm products have been uploaded.
Quick-tips
- Use clear and high-quality images for the best visual impact.
- Keep titles short and descriptive for easy identification.
- Always link banners to relevant pages like sales or product categories.
- Rotate banners regularly to keep your website fresh and engaging.
- Use the banner status toggle to quickly show or hide banners without deleting them.